Dropbox API 認証して、画像をダウンロードして表示
SwiftyDropboxをインストール
https://github.com/dropbox/SwiftyDropbox
https://qiita.com/Soccerboy_Hamada/items/037f80c95acc9ae9949e
2023/3/6 確認

DropboxのApp KeyはApp Console で確認
AppDelegate.swift
(DROPBOX_APP_KEYは実際のApp keyに置き換え)
//DROPBOX_APP_KEYは実際のApp keyに置き換え
DropboxClientsManager.setupWithAppKey("DROPBOX_APP_KEY")
Infoを開き、
Information Property Listの+をクリックして追加。
LSApplicationQueriesSchemes Array
Item 0 dbapi-8-emm
Item 1 dbapi-2
URL types
Item 0
URL Schemes
Item 0 db-DROPBOX_APP_KEY(DROPBOX_APP_KEYは実際のApp keyに置き換え)
サンプル PhotoWatch
GitHub - dropbox/PhotoWatch: A demo app for the SwiftyDropbox SDK.
iOS - Swift5とDropboxAPIを連携させる方法を知りたい|teratail
$ cd github
$ git clone https://github.com/dropbox/PhotoWatch
$ cd PhotoWatch
$ sudo gem install cocoapods
$ pod install
Simulatorでは実行できた
$ cd github/HelloWorldSwift2
$ vi Podfile
use_frameworks!

target 'HelloWorldSwift2' do
    pod 'SwiftyDropbox'
end
$ pod install
xcodeを終了して、起動して、open a project or file
xcworkspaceファイルを開く
一度シミュレータで実行。ビルドに少し時間がかかる。
そのあと、import SwiftyDropboxを追加
iPhoneにDropboxアプリを入れてログインすれば、db-INPUT_YOUR_DROPBOX_App_keyのままで実行可能。
SwiftyDropbox Reference の Application .plist file
Info.plistを開いて追加。
Information Property Listの+をクリックして追加。
LSApplicationQueriesSchemes Array
Item 0 dbapi-8-emm
Item 1 dbapi-2
URL types
Item 0
URL Schemes
Item 0 db-INPUT_YOUR_DROPBOX_App_key
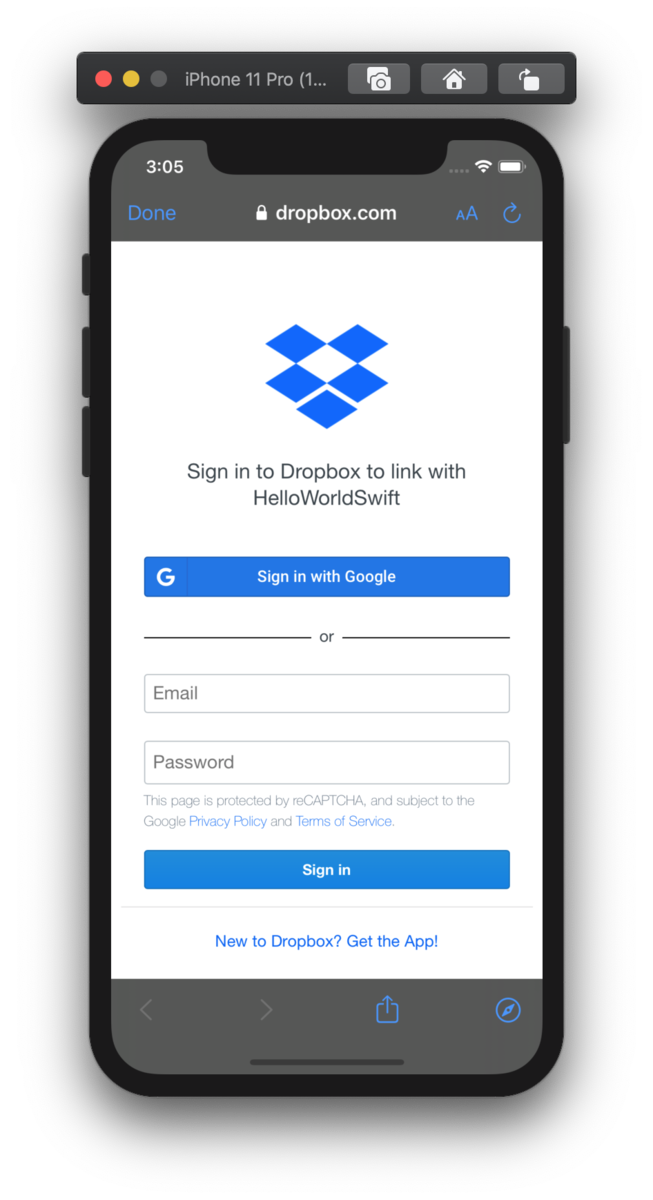
Sign inボタンで、ログイン画面を表示
ViewController.swift に追加
import SwiftyDropbox
scopes ファイル読み込み files.content.read
App Console でCreate Appして、Scoped access、Full Dropbox、HelloWorldSwift2を作成。Permissionsを開き、files.content.read にチェックをつけて、Submit
Sign inボタンを押した時にログイン画面を表示
ViewController.swift に追加
@IBAction func tapSignIn(_ sender: Any) {
signInDropbox()
}
func signInDropbox(){
// New: OAuth 2 code flow with PKCE that grants a short-lived token with scopes.
let scopeRequest = ScopeRequest(scopeType: .user, scopes: ["files.content.read"], includeGrantedScopes: false)
DropboxClientsManager.authorizeFromControllerV2(
UIApplication.shared,
controller: self,
loadingStatusDelegate: nil,
openURL: { (url: URL) -> Void in UIApplication.shared.openURL(url) },
scopeRequest: scopeRequest
)
}
Allowした後に、アプリに戻る
SceneDelegate.swift に追加
import SwiftyDropbox
func scene(_ scene: UIScene, openURLContexts URLContexts: Set<UIOpenURLContext>)
{
// コールバックで来たURLの取得
guard let url = URLContexts.first?.url else {
return
}
let oauthCompletion: DropboxOAuthCompletion = {
if let authResult = $0 {
switch authResult {
case .success:
print("Success! User is logged into DropboxClientsManager.")
case .cancel:
print("Authorization flow was manually canceled by user!")
case .error(_, let description):
print("Error: \(String(describing: description))")
}
}
}
DropboxClientsManager.handleRedirectURL(url, completion: oauthCompletion)
return
}
SwiftyDropbox Reference の Initialize a DropboxClient instance
AppDelegate.swift に追加
import SwiftyDropbox
iPhoneにDropboxアプリを入れてログインすれば、INPUT_YOUR_DROPBOX_App_keyのままでも画像のダウンロードが可能。
AppDelegate.swiftの
func application(_ application: UIApplication, didFinishLaunchingWithOptions launchOptions: [UIApplication.LaunchOptionsKey: Any]?) -> Bool {
の下に追加
DropboxClientsManager.setupWithAppKey("INPUT_YOUR_DROPBOX_App_key")
Swift5でDropbox APIを使いDropbox上にある画像を表示 - Qiita
Dropboxから画像をダウンロードして、画面に表示する処理
@IBAction func tapDownload(_ sender: Any) {
downloadDropboxFile()
}
@objc func downloadDropboxFile() {
let fileName = "/アプリ/HelloWorldSwift2/xxxxx.jpg"
//ダウンロード処理
if let client = DropboxClientsManager.authorizedClient {
//ダウンロード先URLを設定
let destination : (URL, HTTPURLResponse) -> URL = { temporaryURL, response in
let directoryURL = FileManager.default.urls(for: .documentDirectory, in: .userDomainMask)[0]
let UUID = Foundation.UUID().uuidString
var fileName = ""
if let suggestedFilename = response.suggestedFilename {
fileName = suggestedFilename
}
let pathComponent = "\(UUID)-\(fileName)"
return directoryURL.appendingPathComponent(pathComponent)
}
print("AAA")
print(fileName)
//ダウンロードと画面描画処理
client.files.download(path: fileName, destination: destination).response { response, error in
if let (metadata, url) = response {
print("Downloaded file name: \(metadata.name)")
do {
let data = try Data(contentsOf: url) //urlをData型に変換
let img = UIImage(data: data) //Data型に変換したurlをUIImageに変換
let iv:UIImageView = UIImageView(image:img) //UIImageをivに変換
let rect:CGRect = CGRect(x:0, y:0, width:300, height:400) //サイズを変更
iv.frame = rect
self.view.addSubview(iv) //変換したivをviewに追加
iv.layer.position = CGPoint(x: self.view.bounds.width/2, y: 400.0) //表示位置決定
} catch let err {
print("Error : \(err.localizedDescription)")
}
} else {
print(error!)
}
}
}
}
PhotoWatch/PhotoViewController.swift at master · dropbox/PhotoWatch · GitHub
画像の縦横比が崩れないように変更
let maxSize: CGFloat = 390.0
var tmpWidth = 0
var tmpHeight = 0
if img!.size.width >= img!.size.height {
tmpWidth = Int((maxSize / img!.size.height) * img!.size.width)
tmpHeight = Int(maxSize)
} else {
tmpWidth = Int(maxSize)
tmpHeight = Int((maxSize / img!.size.width) * img!.size.height)
}
// let rect:CGRect = CGRect(x:0, y:0, width:300, height:400) //サイズを変更
let rect:CGRect = CGRect(x:0, y:0, width:tmpWidth, height:tmpHeight) //サイズを変更
PhotoWatch/BackgroundViewController.swift at master · dropbox/PhotoWatch · GitHub
ダウンロードしたファイルの削除処理を追加
client.files.download(path: fileName, destination: destination).response { response, error in
if let (metadata, url) = response {
print("Downloaded file name: \(metadata.name)")
do {
let data = try Data(contentsOf: url)
let img = UIImage(data: data)
let iv:UIImageView = UIImageView(image:img)
try FileManager.default.removeItem(at: url) //downloadしたファイルを削除
手順は以下のとおり。
Dropbox APIをSwift5で使用する方法 - Qiita
認証処理は、SceneDelegate.swift に追加。AppDelegate.swift ではない。
ダミーファイルを作成してアップロード Upload-style request
Info.plitとAppDelegate.swiftにDropboxのAPIキーを入力。
コミットする前にダミーに変更して、GitHubにPush
App KeyをApp Consoleで確認
@はshift + 2で入力できます。
SwiftyDropboxでDropboxの簡単なファイル操作をする - Qiita
SwiftでDropboxを利用するメモ - Terrarium